donderdag 20 januari 2011

He's going in Circles with nail art

Here the photo's of He's going in Circles with nail art. I uses the limited edition Konad Coraline imageplates for this. This is from June 2009.

The sunny french is stamped with Konad PSN Jungle Green and imageplate C06. The dragonfly's with SN psyche pink and blue pearl C03. Photo outside without flash.

Photo with flash.

Photo outside cloudy day.

My short thumb with the face of Coraline imageplate C02, stamped with SN blue pearl, psyche pink and some gold black for her eyes.

Next blog: swatches of Sexagon.

China Glaze Kaleidoscope week: He's going in Circles

Another beautiful Kaleidoscope polish, this is a light green.. Unfortunately I only made one swatch photo. This photo is from June 2009.
Photo with flash.

Next: He's going in Circles with nail art (Konad Coraline)

woensdag 19 januari 2011

Octa Gone Wild with nail art

So here are the photo's of China Glaze Octa Gone Wild with nail art on it. This is an older creation, I believe it was in May 2009. The swatch photo's in my previous post were from January 2009.

I stamped with Konad SN black pearl and white imageplate M54, and with SN violet pearl and white imageplate M36. On my ringfinger two purple rhinestones. Photo with flash.

Photo without flash, outside.

Photo of my hand.

I know some people don't like photo's of toes/feet so don't look at the next photo then ;) I like matching my feet with my hands when it is nice weather and I can wear flip-flops :)


I also made a french with Octa Gone Wild in July 2009.
Base a light pearly nailpolish don't remember the brand and a french from Octa Gone Wild. Stamped with Konad imageplate M3 in the colors SN violet pearl, yellow, PSN blue pearl, coral blue, psyche pink and green and yellow mixed.

Photo without flash, daylight. (don't mind my cuticles I didn't had Lemony flutter back then ;))

Next blog: a swatch of He's going in circles.

China Glaze Kaleidoscope week: Octa Gone Wild

This is my favorite nailpolish from this collection or maybe of my whole stash. My bottle is half empty :( This is one of the colors I've worn more than once. I love purple and the holo is amazing.

Photo with flash.

Photo outside in daylight.

Next blog: Octa Gone Wild with nail art.

dinsdag 18 januari 2011

China Glaze Kaleidoscope week!

With the new China Glaze Tronica collection coming up I thought it would be nice to show some swatches of another holographic collection the Kaleidoscope from 2005. It's my favorite nailpolish collection, to bad it isn't available anymore :( I have all 12 colors and will show swatches of the 9 I've worn, 3 of them I haven't worn yet, so those swatches will come some day in the future ;) I will also show the colors with my nail art creations on it.
From the white dot clockwise:
- It's my turn
- Don't be a square
- Rated holographic
- Spin me round
- Visit me in prism
- Let's do it in 3D
- Tickle my triangle
- How about a tumble
- Octa gone wild
- Kaleidoscope him out
- He's going in circles
- Sexagon

The bottles, photo with flash.

The bottles, photo without flash.

My first swatch tomorrow will be my favorite color: Octa Gone Wild.

vrijdag 14 januari 2011

Husky nails

Although the snow here in Holland is gone it is still winter (looks more like fall at the moment :( it is raining for days now) So I wanted to make winter nails. My boyfriend really loves Husky dogs so I made this especially for him.
Base OPI Alpine Snow with China Glaze Fairy Dust (swatch see below). Some self made water decals of a Husky. Stamped with Konad SN Black and imageplate H23. For the gray snowflakes I mixed Konad SN White and Black. Photo with flash.

Photo of my hand with flash under artificial light.

Photo without flash under artificial light.


Just a cute photo ;)

A whole family of Husky dogs.

The base and just the decals, my nails are pretty long again so I had plenty of room left for stamping.

A swatch of OPI Apline Snow with China Glaze Fairy Dust.

I hope my boyfriend likes my nails when he comes home from work :)

donderdag 13 januari 2011

Holographic and full nail flowers.

My last nail art creation I totally messed up, so I had to do something else quick and easy. When I want to do something quick I always go for a holographic nailpolish most of the time one of the China Glaze Kaleidoscope collection. This is my favorite collection ever! (I have all 12 of them and will post swacthes later) I  haven't worn them all I still have to wear 3 of them. But they are my precious jewels ;) just totally love them and they dry really fast.

Base China Glaze Rated Holographic from the Kaleidoscope collection. I stamped with Konad SN white and plate M73. It is pretty difficult to stamp a full nail twice on long nails. Photo with flash.

Photo without flash under artificial light.

woensdag 12 januari 2011

How to make your own water decals!


A lot of you asked me if I would like to blog about making your own water decals. So here it is as promised. I did my best to explain it in English ;)

Before you start making your own water decals you need: decal paper, a computer with some good photo software and some transparent/clear (acrylic) spray paint/ lacquer/ varnish/ coat to seal it.

Decal paper:
There are different sorts of decal paper, you have paper for inkjet and laser printers (also for OKI dry ink but what that is I don’t know) So please look at home if you have a laser or inkjet printer (most regular printers are inkjet). Then you can choose if you would like white or transparent/clear paper. When you choose white paper everything gets a white background. It is nice for on a dark nailpolish, but you have to be able to cut it very precisely, because every little edge and corner is showing white. I personally don’t like white paper because it’s almost not possibly to cut so precise. Even when you cut a square it is showing.

When you choose transparent/clear paper everything that looks white on paper is in real life transparent and gets the color of your nail (polish). A regular printer doesn’t have white ink, so you can’t print anything white. You get the best results if you place the decals on a white or light nailpolish. It also depends on the colors of your decals and the color of your nailpolish.

You can buy decal paper at modeling shops (you know where you can buy small cars/trains and radio controlled cars and stuff) Decal paper is often used to make your own designs on cars or remake traffic signs for the small villages people build for their little trains. There are also a couple of websites just google decal paper. I buy it here at a local store or website in Holland but there are a couple of websites who ship internationally.

Photo software:
Images for your decals you can find anywhere on the internet, but you can also use your own pictures or if you're a bit handy make your own designs. You need a good photo software on your computer to make the decals. I use Adobe Photoshop CS3. Here I sharpen, resize, mirror and copy the images. But every software program is different so how that exactly works is up to yourself to figure that out. I recommend that you don’t resize the images to small, because then you might lose the sharpness when you print them. So make sure your resolution isn’t too small.  I resize the image to the size I want in my printer options, so I keep the images around 3 cm (1.18 inch)  and then I print at 33% so the image on my nail is about 1 cm (0.39 inch). I may sounds very complicated but it really isn’t that hard. Just do some testing on normal paper before you print it on decal paper. Once you figure out the right settings for you it is really easy.

I find it a lot of fun looking for images and sometimes I adjust them for example different colors or with Christmas I gave Chip and Dale and Chococat their own Christmas hat or candy cane.

Spray to seal it:
You can use all kinds of sprays/lacquers/coats/varnish to seal the printed images. That is also just a matter of testing what you like and works best. I use a clear spray that I buy at my local DIY (do it yourself store) it can also be used on wood and metal and charcoal drawings. It is a shiny fast drying spray. I believe they called it an acrylic spray. Many websites say any acrylic spray will work, so just visit you local DIY to find a clear spray.

Make sure your ink is completely dry before you start spraying. Spray 1 thin coat from a distance not to close on the paper because it might get to wet then. Repeat this when the first coat is completely dry. Let the second coat dry and you decals are done.

How to use your own made water decals:
Like I said before remember that self made decals are transparent/clear (unless you’ve used white paper). A normal regular printer doesn’t have white ink. So everything that looks white on paper is transparent and gets the color of your nail (polish) You get the best result on white or light nail polish.

-                Cut out the decals as precise as possible.
-                Place the decal on top of your finger or table with the white side facing upwards.
-                Make the back (the white) wet with a wet Q-tip or a wet finger.
-                You don’t have to soak the decal in a bowl of water.
-                Wait a few seconds.
-                Then slide the white paper carefully off.
-                The side that lets go of the white paper is the side that you have to place on your nails and is a little bit sticky.
-                Place the decal on your nail where you want it.
-                Gently press it with for example your finger or a (wet) Q-tip.
-                Apply a topcoat and let it dry.
-                You can decorate the rest of your nails with other nailart J
 
I love making water decals and make and sell them by request, I’m not going to post all my decals, that is too much. I often make decals for people from pictures of their boyfriend, best friends, children, idol or pets. And I make everything by request so if I don’t have such an image I’ll do my best to find or make it.

Sorry that this is such a long text blog, but making your own decals is a lot of fun and I hope this blog is a bit helpful and you can make your own decals now.

If you would like to know something or have any questions you can always contact me ♥

dinsdag 11 januari 2011

Blogger award and Color Club - Pucci-licious + Essence Black and White topcoat + nailart

Sorry for not blogging for a week. My next blog will be about making your own water decals, but for today I have some swatches of Color Club Pucci-licious.
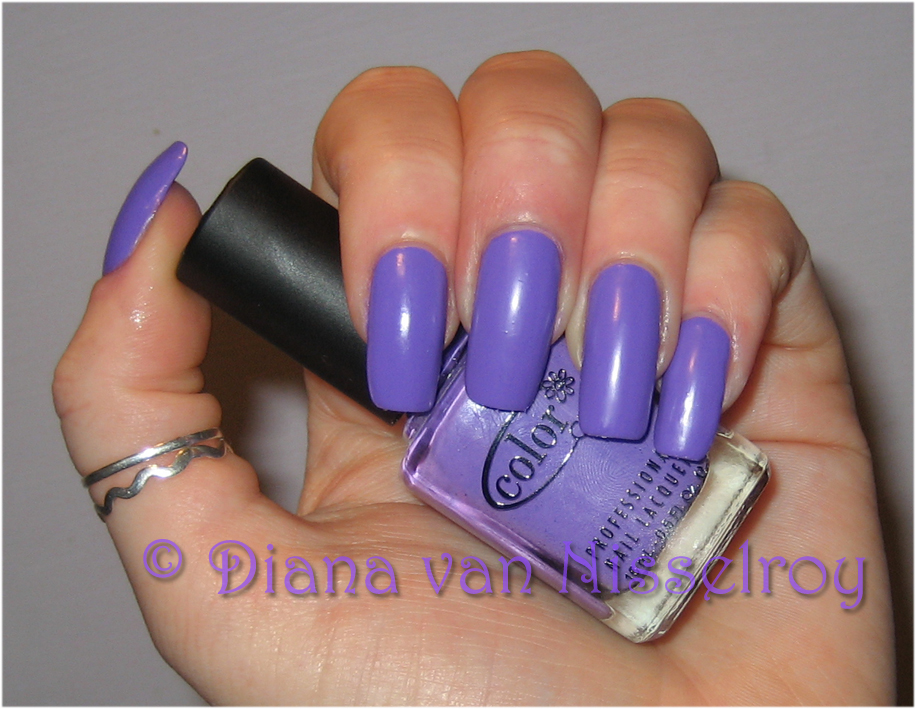
These are 2 coats without topcoat. I really love this color but don't really like the plastic finish. Photo with flash.

Photo with flash under artificial light.

Photo with flash and different skintone settings.

Saturday I went shopping in Germany and I bought the Essence Black and White topcoat. It's called Make me holo, but there is nothing holo about it. I already knew that because I've seen the swatches on Parokeets but I still liked it. It's a blue shimmer topcoat and I did it on top of Color Club Pucci-licious.

I'm personally not a huge fan of crème polishes, so I made Pucci-licious more my taste with the Essence topcoat :)

I really love the blue shimmer on that purple color.

Ofcourse I wanted to do some nailart on it, but that didn't turned out the way I wanted. I bought some nice metallic water decals on Ebay but one sheet was wrong and the decals turned into a dusty glittery kind of thing when I made the back of the paper wet. So I was planning to do a decal on each finger but that wasn't possible anymore. I totally messed it everything up but I took a picture before doing that (only my thumb was really bad at this moment but that doesn't show in the picture).
I stamped with Konad SN pastel blue and M15 and on my ringfinger a metallic decal (one that did work).

I have been tagged with the Stylish Blogger Award by Tsiisfamke from Nails 4 Fun  Rianne from Rianne Things Crystal from Crystaliciousss Diava from Diava's Lacquer Box Sarahlouise from Spellbinding Nails Cre8tiveKtina from Nail Art Design Tutorials and Random Information Aryn from Totally Polished and Maki from Candy Glaze
Thank you very much :)

Tell 7 things about myself:

1. I stopped biting my nails more then 3,5 years ago.

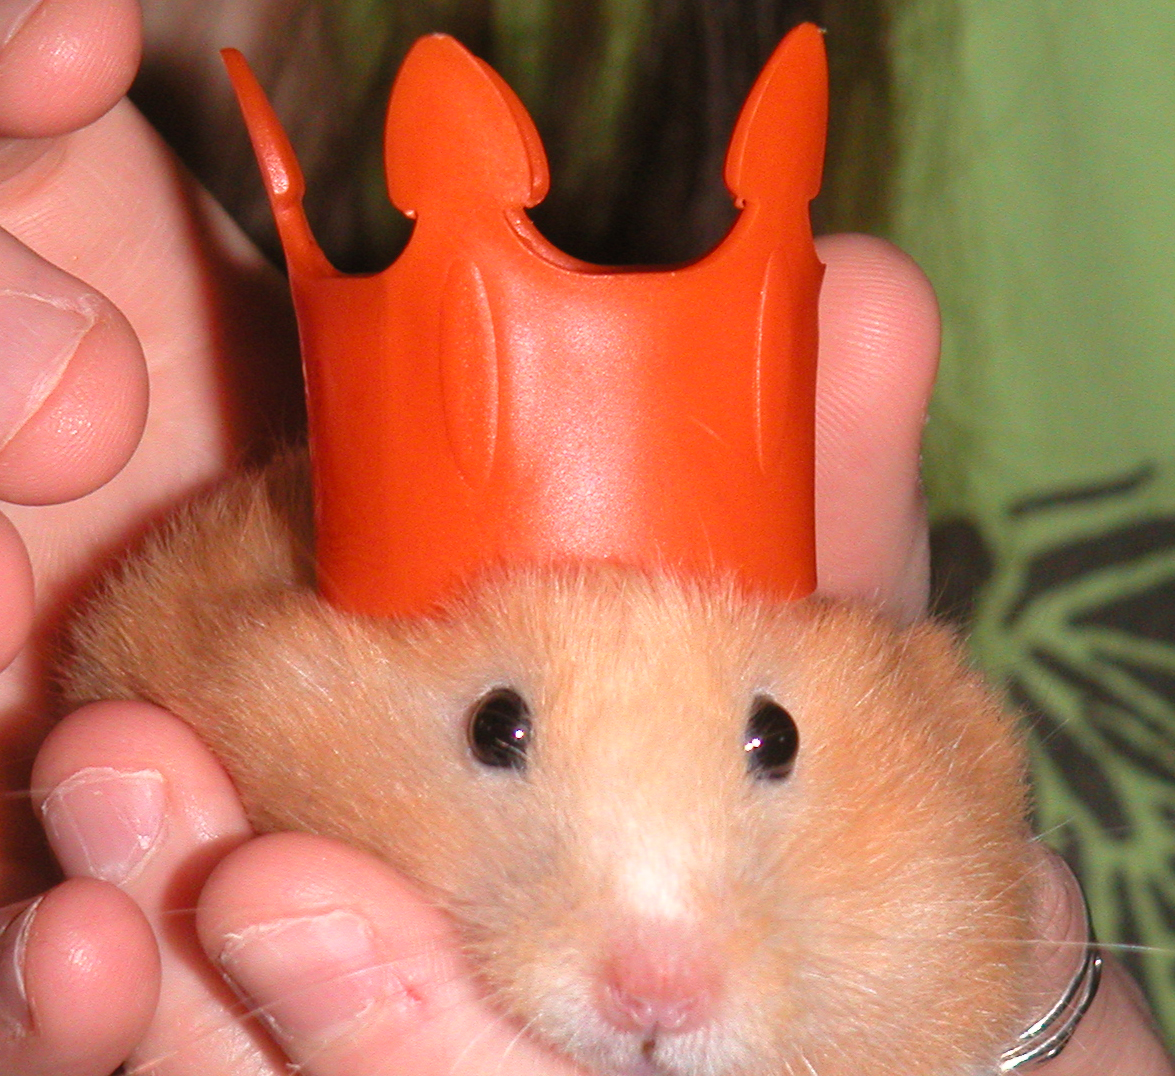
(cute hamster huh ;) but this is what my nails look liked a couple of years ago, hard to imagine. Also very difficult to find a picture from my nails then)

2. A lot of people think I have fake nails and it makes me proud to say they're all natural :)
3. I have about 375 bottles of nails polish (topcoats not included)
4. I have one older sister she is 3 years older then me, also bites nails :( so I can't share my addiction with her.
5. I love going on vacation especially to Greece.
6. I really love animals (have one hamster and 2 rats) so my favorite tv channel is Animal Planet.
7. I have a boyfriend his name is Dave and I love him very much.

I always find it hard to give it to 15 new bloggers because the new bloggers I follow already received it or aren't new and have received this award for like a million times ;)
So I give this award to all my followers who have a blog and haven't received this award yet :)
I love reading all your blogs ♥

dinsdag 4 januari 2011

Essence Fairytale: 04 Humpty Dumpty swatches + nailart

I was really looking foward to the Essence Fairytale collection and very disappointed when I heard this collection wasn't coming to the Netherlands. And I had no time to go the Germany :( Luckily my sister went and she found 3 of the six colors for me :)

Here some photo's of 04 Humpty Dumpy a beautiful color not gray, not silver, not purple but it is gorgeous.

Photo with flash, on this one the color is the most realistic.

Photo with flash and different skintone settings.

Photo without flash under artificial light.

Photo with flash under artificial light.

These were all 3 thin coats.

Ofcourse I had to do some nailart on it :)
I stamped with Konad SN black some stars from BM14, a black fairy M35 and some SN pastel violet stars with M3.

Photo without flash under artificial light.

These are the 3 colors of  the fairytale collection that I have.

05 Tinka's Dress, 04 Humpty Dumpty, 01 Fairy Berry.